
- Commercial Garage Door
- Garage Door Opener Installation
- Garage Door Spring Repair
- Same Day Garage Door Repair
- Custom Garage Doors
- Garage Door Opener Repair
- Garage Door Track Repair
- Garage Door Cable Repair
- Garage Door Panel Repair
- Local Garage Door Repair
- Garage Door Dents Repair
- Garage Door Replacement
- Noisy Garage Door Fix
- Garage Door Installation
- Garage Door Section Replacement
- Overhead Garage Door Repair
Garage Door Opener Installation Guide Made Simple
Tired of manually pulling up your garage door every morning? A garage door opener installation can save you time, effort, and even make your home feel more modern. If you’re a DIY enthusiast or a new homeowner looking to tackle this project, you’re in luck. This guide will walk you through the steps of garage door opener installation safely and effectively.
From gathering necessary tools to testing your setup, we’ve got you covered. Follow along for a step-by-step breakdown!
Getting Started with Your Garage Door Opener Installation
Before diving into the nitty-gritty, preparation is key. A successful garage door opener installation starts with having the right tools, a dedicated garage door opener kit, and an understanding of your garage’s setup.
Tools and Materials You’ll Need
Make sure you have the following items on hand before starting the installation process:
- Garage door opener kit (including rails, motor unit, and remote)
- Ladder
- Drill with screwdriver bits
- Wrenches and sockets
- Safety glasses
- Measuring tape
Once you’re geared up, it’s time to begin your installation!
Step 1: Attach the Rail to the Opener
Start by connecting the rail to the opener. Most garage door opener kits come with a detailed manual, but the process generally involves securing the rail with bolts and attaching the pulley system. This forms the track along which the door opens and closes.
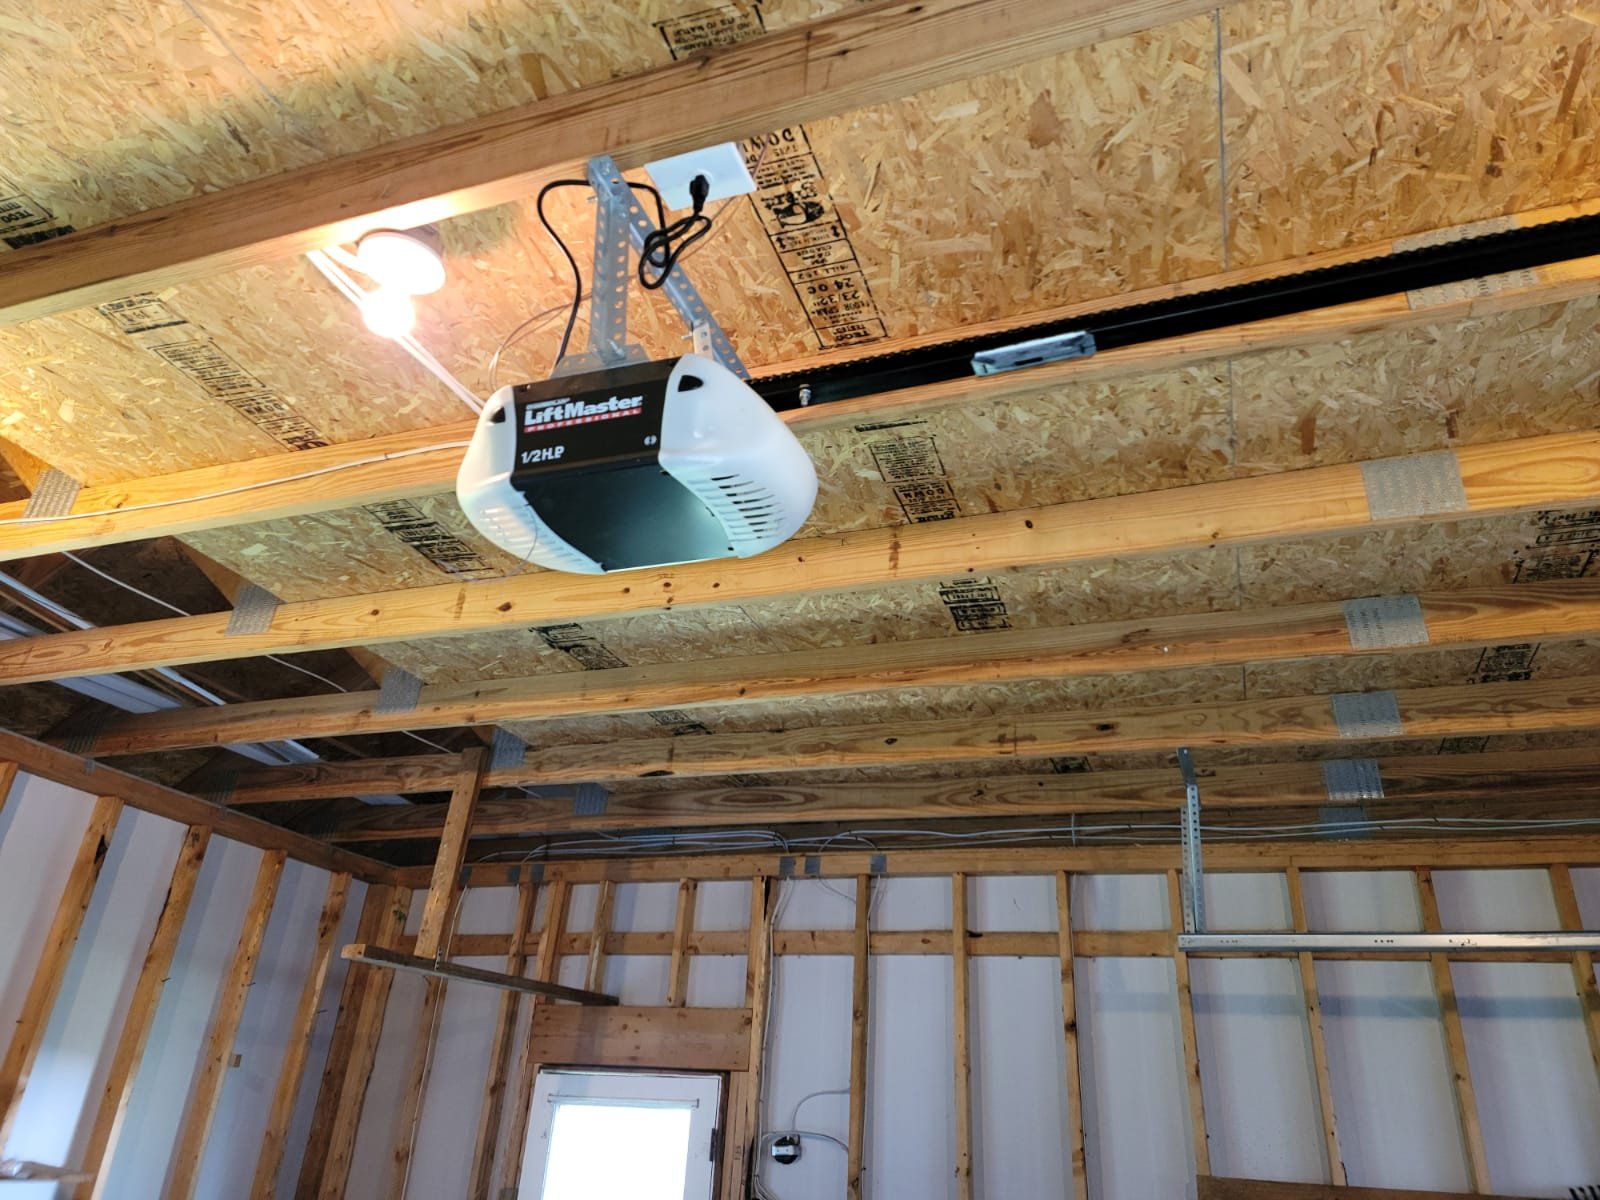
Step 2: Mount the Motor Unit
Find a secure point on the ceiling where you can mount the motor unit. Ideally, it should align with the center of your garage door. Use heavy-duty screws and brackets to attach the motor, ensuring its stability. Pro tip: Use a stud finder to locate beams in your garage ceiling for added strength.
Step 3: Attach Brackets and the Door Arm
Next, attach the mounting brackets to your garage door. These will connect to the motor’s arm to control the opening and closing motion. Adjust the door arm to suit your door’s height and distance from the opener. Tighten the screws securely to avoid misalignment during operation.
Step 4: Install the Sensors
Garage door safety sensors are crucial for preventing accidents. Mount the sensors on either side of the door, typically 5-6 inches above the ground. Make sure they’re aligned and can “see” each other. Misaligned sensors will stop the door from functioning correctly.
Step 5: Connect to Power and Test
Plug the motor unit into a power outlet and test your garage door opener. Use the remote to ensure the door operates smoothly. If the opener struggles, revisit your alignment and motor adjustments.
Pro Tips for a Smooth Installation
- Read the Manual: Every garage door opener model is slightly different. Always follow the manufacturer’s instructions for best results.
- Safety First: Ensure your garage door is in good condition before installing the opener. Weak springs or misaligned tracks could pose safety hazards.
- Check Local Codes: Some areas require permits for garage door opener installation. Check your local regulations before getting started.
Where to Turn if You Need Help
While DIY garage door opener installation can save you money, not everyone has the time or the tools to do it. If you run into trouble or just want to ensure the job’s done right, the experts at Overhead Garage Door Repair Dublin Ohio are here to help. With professional experience and unmatched customer service, they’ll have your garage door functioning perfectly in no time.
Installing a garage door opener can seem intimidating, but with the right tools and guidance, it’s a project most homeowners can handle. Whether you do it yourself or call in the pros, enjoying the convenience of an automatic garage door is well worth the effort.